Properly configuring SMTP ensures that all website emails (such as contact form submissions and system notifications) are delivered reliably and do not end up in the recipients' spam folders.
Step 1: Create an Email Account (via cPanel)
Before starting the WordPress configuration, you must have a professional email address hosted on your server.
For detailed instructions on how to create a professional email, please refer to our “Adding an Email Account” tutorial.
Step 2: Install and Configure the WP Mail SMTP Plugin
To bridge your WordPress site with your email server, we will use the WP Mail SMTP plugin.
- 1. Installation
- Log in to your WordPress Dashboard.
- Navigate to Plugins > Add New.
- Search for “WP Mail SMTP”, then click Install Now and Activate.
- General Settings
- From Email: Enter the email address you created in Step 1 (e.g., [email protected]).
- From Name: Enter your website or business name.
- Force From Email: It is recommended to check this box to ensure consistency across all site emails.
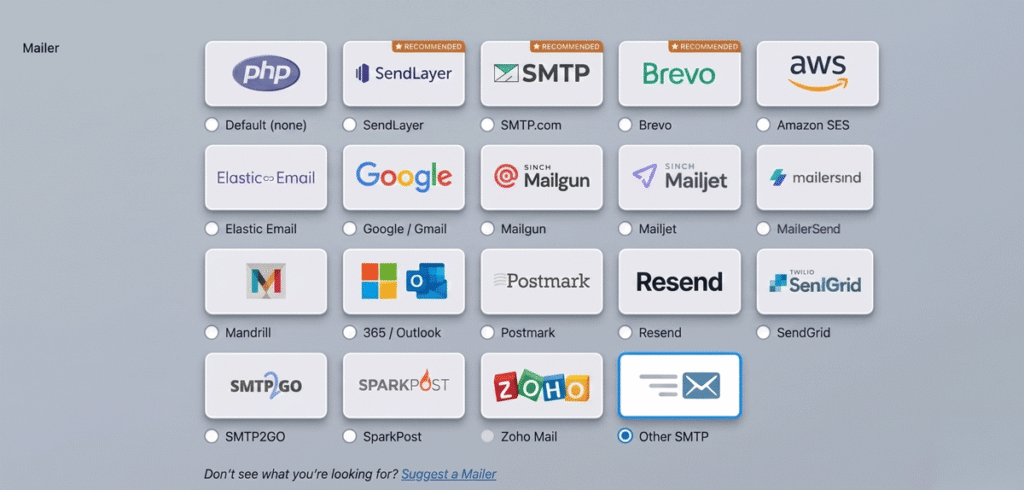
- Mailer Configuration (Other SMTP)
- Scroll down to the Mailer section and select “Other SMTP”. Fill in the following technical details:
| Field | Value |
| SMTP Host | mail.yourdomain.com (Check your hosting provider for the exact value) |
| Encryption | SSL or TLS |
| SMTP Port | 465 (for SSL) or 587 (for TLS) |
| Authentication | ON (Toggle the switch) |
| SMTP Username | Your full email address (e.g., [email protected]) |
| SMTP Password | The password created for that specific email account |
Final Step: Click the Save Settings button to apply the changes.
Share this: